Fall Harvest, peppers and tomatoes

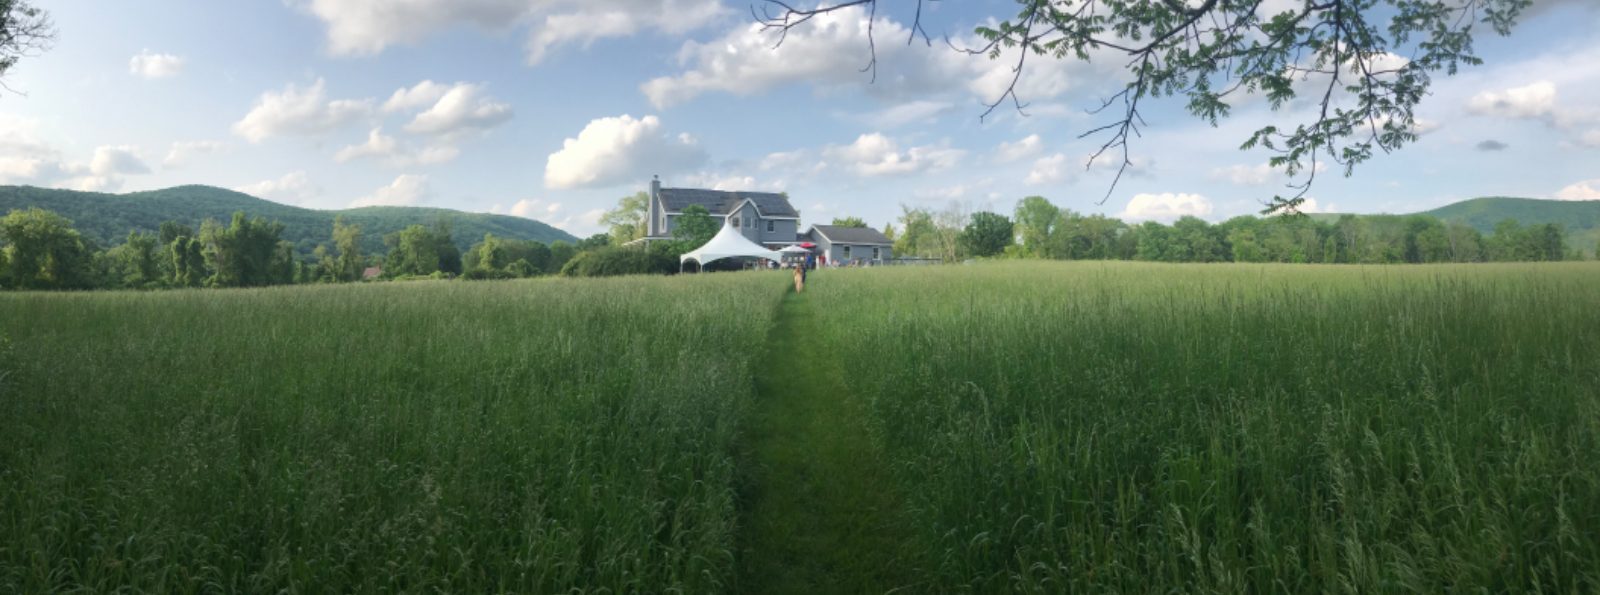
Wow, it’s been a long time since I wrote!  I had a very busy summer in the garden.  This New England summer was very mild, and the cooler than usual weather made for a lush and productive garden.  It was an exceptional year for tomatoes, and as we head into October I am still picking.  Most of my tomato plants got the blight, as usual, but this year it was so late as to not affect the fruit.  In fact as the days get shorter the plants are having a last comeback and still producing.  To prevent the fruit from splitting on the vine, I pick them under-ripe and mature them on the counter or in paper bags for a few days.  The flavor is a bit tangier than the full sun ripened fruit, but they are still delicious.  I will still have many green ones on the vine when the first frost comes in, so I’ve been perfecting my recipe for green tomato salsa in advance.

Green Tomato Salsa

This time of year is almost as exciting for me as the spring.  It is as much a time of abundance and good eating as the peak of summer.  This may be because I usually plant a garden heavy on fall producing veggies like kale, peppers and potatoes, parsnips, beets and carrots, but it’s also a time for preparing foods for the winter.  I’m spending my days chopping, stewing and freezing tomatoes, roasting hot and mild peppers and making chili sauces to spice up the long winter.  I’ve got quite a few things going on in the kitchen as well as the garden.

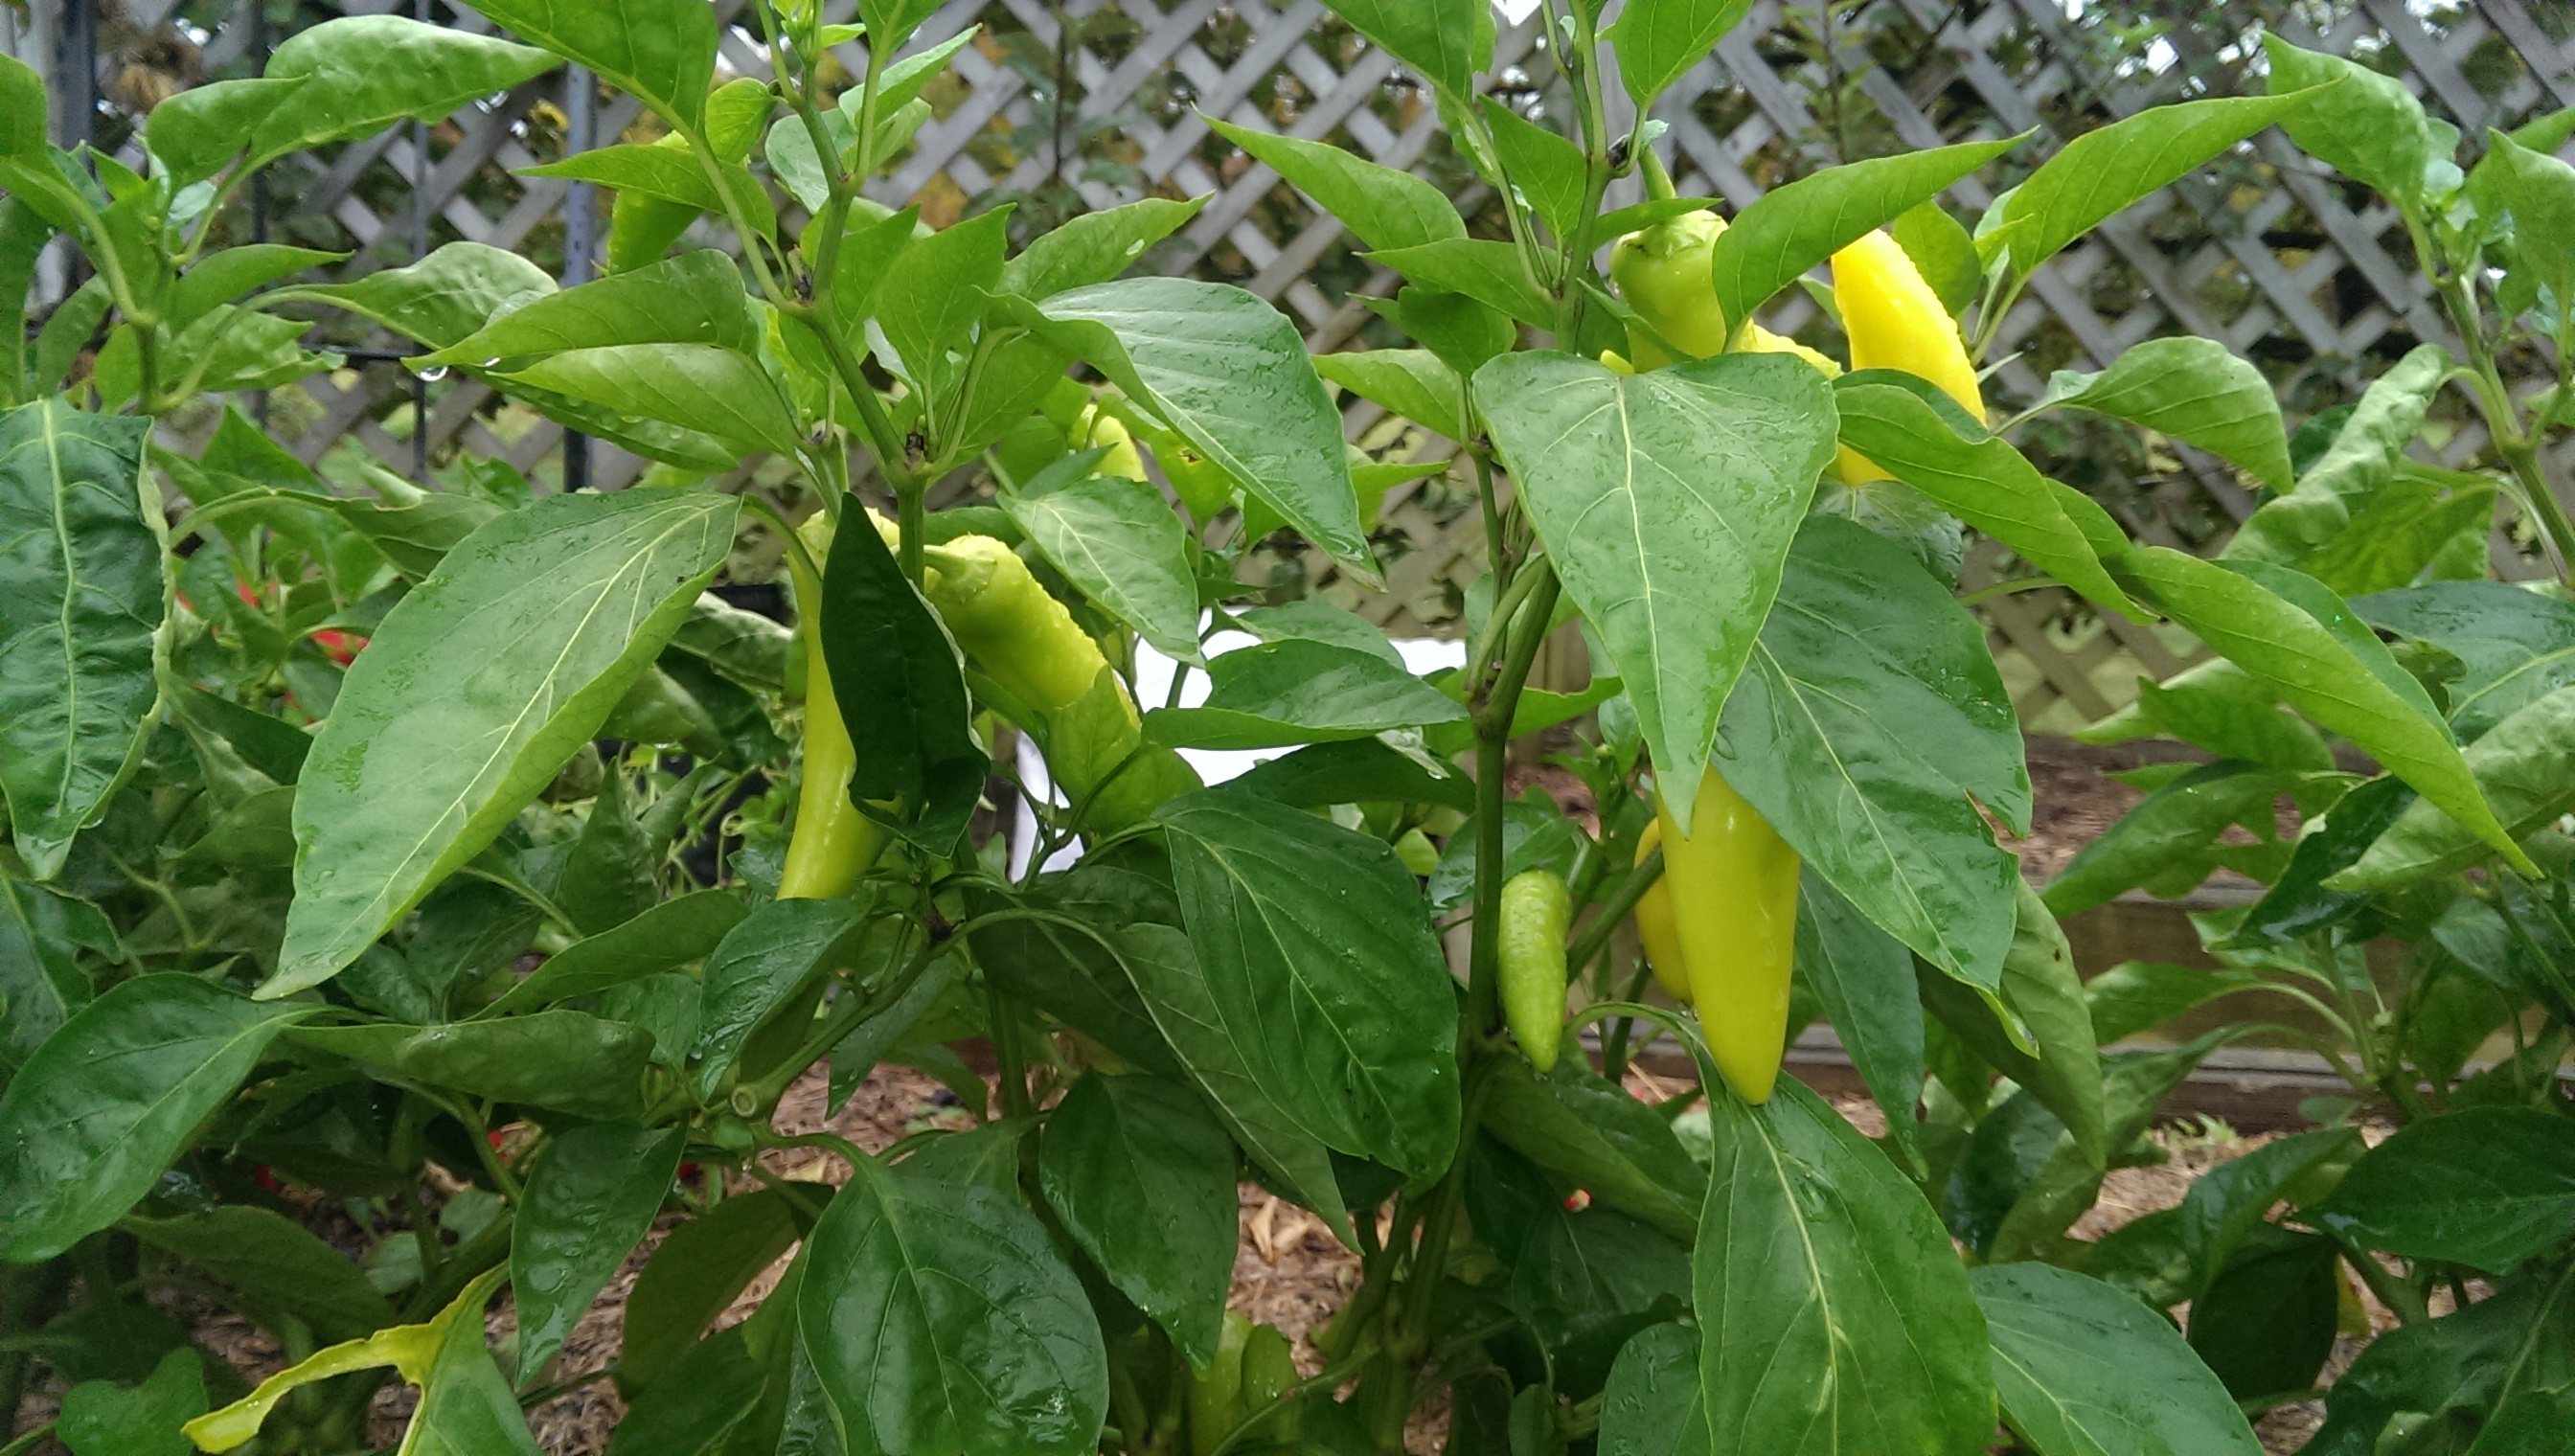
The peppers had a nice year.  I planted a mixed variety and like always, quickly lost track of what I planted where.  While this might bother some, I find it exciting to watch the unknown plants grow and see how they eventually reveal themselves.  This year we had a cayenne variety, jalapenos, poblanos, banana peppers, green chilies and regular old green bells.  The mix was great, as some we used for stuffing, some for fresh sauces, some for cooked sauces, some roasted and jarred, and some fresh with dip.  As peppers are perennial, I have even planted some in pots to bring inside and have for the winter. This is a first for me, but I have been reading up on it and I’ll let you know how it goes.

IMAG0460

Another first for me is fermenting cayenne peppers for sauce.  I’ve made plenty of hot sauce over the years, but I’ve never  fermented the chilies before hand.  It is exciting to watch them bubbling away on the top of the fridge.  I have them soaking in a sugary Reisling mixed with 2 % salt.  It can take anywhere from 4 to 6 weeks for the fermentation to be completed, so I just bide my time and watch the process in fascination. I’m making up my own recipe, but there are quite a few good websites on the process, and here’s one I like.  http://talesofakitchen.com/raw/fermented-hot-chili-sauce/

IMAG0462


Remember to always wear gloves when handling hot chilies.  Even the milder chilies can get under rings and nails and cause irritation and burning.  Lingering chili oil can make itself known when you try to take out your contacts.  Never never wipe your face or eyes.  I have learned these lessons the hard way and I always wear the kind of rubber gloves you find in the doctors office.  They fit close and keep the capsasin off the skin.   Also, instead of using a cutting board and knife, try snipping the chilies with scissors right into the bowl.  This will keep the oil out of the cutting board and therefore out of the next thing you cut on it.


One of my favorite things to do with the abundance of peppers is to make green chili sauce.  I first had it prepared by a very good friend and former roommate Rachael Risley (nee. Coulehan), who makes it with a slow cooked pork shoulder.  As it’s very difficult to get organic free range pork of any kind, let alone a shoulder roast, we usually make it with chicken.  Served with cornbread or tortilla chips, it’s a hearty and satisfying dish perfect for the cooler fall temps.  I make the sauce first, pour it over shredded or cubed chicken and bake it with cheese like a casserole.  The trick to really good sauce is to roast the peppers first, skin and seed them and then make the sauce. Chopped and sauteed, they just don’t have the rich flavor that roasting adds. It is an extra step, but well worth the effort.

IMAG0463

Blister the chilies on high heat, flipping once to get both sides.  Put the chilies in a glass bowl, cover with a plate and let cool.  This will steam the chilies and make it easier to remove the skins.  When cool, remove the skin, seeds and ribs, reserving the liquid in the bowl.  Set aside.

Green Chile Sauce

2 tbs olive oil

2 large onions, chopped

2 cloves garlic, chopped

2 tbs flour

2 cups broth

a dozen or so roasted and seeded green chilies, about 2 cups (any variety, but mostly not too hot)

Salt and pepper to taste

In a medium sauce pot, saute the onions in the olive oil until fragrant, about 10 minutes.  Add the garlic and saute two minutes more. Stir in the flour.  Add the broth and cook until thick and bubbly.  Add the chilies and cook for 5 minutes more.  With an immersion blender puree the mixture, leaving some peppers and onions whole.  If you don’t have an immersion blender, add 3/4 of the mixture to a blender, cover with a dish cloth to allow steam to escape and blend on high 1 minute.  Return to pan.  Add salt and pepper to taste.  Serve over chopped or shredded chicken, pork or enchiladas.  Enjoy!


Pheasant Season

As I’ve mentioned, fall is one of my very favorite seasons, in part because beginning in late October and running through Christmas, Connecticut hosts a hunting season for pheasant.  Throughout the state there are controlled releases of birds on state land at irregular times during the week.  These are then hunted by upland bird hunters, usually with dogs to help them find, or flush, the birds.  Peasant is by far my all-time favorite animal to hunt, and I look forward to the beginning of the season all year.  They not only are a blast to hunt, but they make a delicious addition to the November menu!

Image

I first hunted pheasant, as well as chukar and grouse, with my dad.  I was perhaps in my twenties (I can’t remember because it was SO very long ago!) when he invited me along on a private hunt.  At a private club, the way it works is that when you arrive you determine how many birds you want to hunt, usually 2-4 per person, and the guides will set them out for you in the hunting area.  The birds are raised in huge pens nearby.  You relax for a while and then off you go to find the birds.  We didn’t have our own dogs then, so we used the dogs that came with the guide service.  This may seem to some like an unfair advantage over the birds, but let me assure you it is not.  Pheasant are not like wild chickens.  They are crafty and very fast and can often outsmart a dog by leaving a confusing scent trail, running in circles, or just generally blending into their environment the way God made them.  It is neither easy to find the wily creatures after they are freed nor is it easy to fell them, although I must say that pheasant are slower in the air then the average game bird. That’s one of the reasons I like to hunt them!  I need all the advantage I can get.

Back then with my dad I was an average shot.  I remember missing the first bird, but I got some that day.  Over the years when I lived in Colorado, my husband and I would often head south and east to Blanca in the fall and hunt birds there.  I was never a crack shot, like he was, but I hit most of what I aimed at.  Recently, when we were back in Connecticut, he and I decided to tune up our game by going over to Millbrook  New York and spending the day at the Orvis shooting grounds called Sandanona.   http://www.orvis.com/sandanona  They have a world class sporting clay course for wing shooters.  This was a real treat for us, and not something we could do very often.  100 clays at 20 stations each to practice on.  By the end of the day we had sore shoulders and tired arms, but we were smiling. He was smiling somewhat more than me, as he had schooled me at each station, hitting  approximately 70% of his targets to my somewhat less then 50%.  Needless to say I was a bit discouraged.  So the following Christmas, after a whole bird season of listening to me gripe about what a bad shot I was, my darling husband gifted me a trip to the Sandanona shooting school, where I would be taught the proper techniques and principles of wing shooting in a half day class with an expert.  I couldn’t wait.

The class was super fun, and I learned a ton about how to shoot.  I learned that my gun doesn’t really fit my body.  It’s too short, and canted too little to line up with my eye when I draw it up.  But I love my gun.  My dad gave it to me and I’ll never get rid of it.  I learned that even though I am right handed, I am “left eye dominant”, which means that my left eye leads and my right eye follows.  I learned that because of this I should be shooting left handed.  So I tried that.  It’s like walking with shoes on the wrong feet tied together. Not even safe.  I learned that I could compensate by using a patch over my left eye, to force my right eye to work.  I tried that and actually fell down. With a loaded gun. My shooting went below 30%.  I spent the next season practicing closing my left eye instead of my right while I draw.  Draw, close, aim, fire.  I hit a few birds, but didn’t even make my bag limit for the season.

What now?  I’m trying to get back to a place where I can forget my limitations and just shoot.  Where I can let instinct take over for ability.  I need to un-think shooting.  I’m trying to be OK with the fact that, for whatever reason, I’m just not a very good shot, and I’m trying to remember that even though I love to shoot, what I really love is to walk in the woods on crisp fall days with my husband and my son and my dog.

Here is a recipe for one of our very favorite fall meals.  If you want leftovers, you had better make 2.  It takes a bit of work, but is well worth the effort.  FYI the easiest way to get the meat off a pheasant is to cut the skin of the breast and peel it back, and then filet the breasts off the bone.  Then continue to pull the skin down over the thighs, exposing the legs.  Break the leg joints at the end of the ‘drumstick’ and again at the hip.  Use a knife to separate the legs from the body.

Pheasant Pot Pie

6 cups water

1 pheasant, breasted, and legs skinned

salt and pepper to taste

1 tsp parsley

1 tsp. thyme

1 bay leaf

1 cup diced potatoes

1 cup diced turnips

1 cup diced carrots

1 cup diced leeks

1/2 cup frozen peas

1/2 cup chopped onion

4 tbs butter

3 tbs flour

1-2 bullion cubes

1 pie crust.

In a stock pot, bring the water to boil and add the pheasant and the spices.  Reduce heat to low and simmer the pheasant for 20 minutes or until cooked through.   Allow to cool, reserving the liquid.  Meanwhile, chop the vegetables and mix in a large bowl.  In a heavy cast iron pan over medium heat melt the butter and then add the flour, stirring constantly until the roux begins to darken.  Stir in the bullion.  Add about 1 1/2 to 2 cups of the reserved liquid broth to the roux and stir until you have a smooth gravy.  Freeze the remainder of the broth for future use.  Mix the gravy into the vegetables.  Cut the pheasant into bite sized pieces and mix into the vegetables.  Put all of it into a pie plate or a 9″ round cake pan,mounding to fit.  Cover it all with the pie crust, sealing the edges to the pan.  Bake in a 350 oven for 1 hour.  Serve warm with a nice salad.

November Soup

I’m a big fan of soup.  I serve it year round, from hearty stews in the dead of winter to a cooling gazpacho or an avocado bisque in the heat of July.  When chillier winds start to blow in November, soup is definitely on the menu.  It’s cozy warmth really help to bring the family together around the table when the darkness comes early.  And they smell so good too! 

Tonight’s soup is a perfect dish for early fall, as the ingredients are what is naturally on hand.  Parsnips from the garden and apples from the orchard make this soup a creamy delight.  Non-dairy, and not too sweet, it’s scented with cumin and coriander.  Perfect as an accompaniment to a roast or stuffed chops,  or serve it on it’s own, with a hearty bread like sourdough or cheddar biscuits and a green salad.  With only a couple of ingredients it’s super simple to make and can be made ahead.  It will keep in the fridge for a few days, too.

For a nicer flavor, roast the parsnips in the oven for about 40 minutes on 350.  You can peel them first or just leave them as they are.  It will slightly caramelize the sugars and make for a richer soup.  Any variety of apples will do, but my favorites are good old Mackintosh or Gala.

Parsnip and Apple Soup

2 tbs good Olive Oil

1 large onion, chopped

2 firm apples, peeled and chopped

8 to 15 parsnips, depending on the size. (more for 1″ or less at the crown)

3 1/2 cups (or more depending on desired consistency) of chicken or vegetable broth

Sprinkle of cumin

Sprinkle of coriander

Salt and pepper to taste

Saute the onion in the olive oil until tender.  Add the apples and a dash of salt and and cook, stirring occasionally, until the apples are soft.  Add the parsnips and the broth and cook for 20 minutes if you roasted the parsnips first, 40 minutes if not.  Allow to cool and puree the mixture in a blender, or use a hand blender right in the pot.  Sprinkle with the spices and stir.  Serve alone or with finely chopped parsley or a dollop of yogurt. Enjoy!