The Season of Bounty

Image

It’s that time of the year when a quick evening browse around the garden with a cocktail yields a colorful basket of produce.  For a little while this early summer, I could get away with gathering into my upturned shirt, but with the warmer days and rainy afternoons, the harvest has begun in earnest, and I try to remember to bring out a basket along with my drink.  Garlic and green onions, early tomatoes, blueberries and strawberries, carrots, early beets, peas and peppers are all coming in by the handful.  I always try to balance my desire for fresh produce with the realization that if I leave it a while longer, it will grow bigger, but there is nothing like the taste of sweet baby carrots and tender beets steamed with a bat of butter on a steamy summer evening.  My favorite dish of the early summer is, of course, a simple salad of fresh newly picked veggies.  The thinly sliced Peruvian white habanero adds a super kick to this tasty dinner.Image

I am surprised to see the blueberries ripen so early this year, as I usually think of late July as blueberry season, but I predicted this to be the year of the berry, and it seems I have called it right.  Even the tangy and delectable wild black raspberries in the hedgerow are beginning to ripen early, and I got a sticky purple handful this morning for my trouble.  Unfortunately, as they grown amongst the nettles, I also got a prickly wrist.

On another note, for those of you who read “the Doctor is in”  I’m happy to report that my pepper plants are all thriving.  Many of them lost all their dark green foliage to the cold snap we had in May, but the smaller, lighter green leaves are beginning to thicken out the plants, and on many there are the first blooms.  Some did better than others and are already fruiting, hence the spicy salad, but most peppers like the heat, and will produce best from late July into early September.  During this pepper heyday, you will find me in the kitchen, gloves on, chopping peppers for hot sauces and salsas as fast as I can.

The Blues are Running!

Image

One of the highlights of the summer is fishing for bluefish from the shores of Martha’s Vineyard.  Blue fishing is an all day affair, requiring some planning and a bit of commitment.  Each June we load up the car with lunch, snacks, beer, coolers of ice, chairs, rod holders, rods and tackle, towels, beach games and maybe a kite or two, oh, and the kids on top of it all, and we head out for East beach on Chappaquiddick.  To get there we must drive the 20 minutes to Edgartown and queue up in the ferry line to make the short hop to the island off the island.  Once there, we drive until the road turns to sand and stop at the Trustees of the Reservation hut to have them check our sticker.  The Trustees are a statewide conservation organization that manages much of the public lands on Martha’s Vineyard.  Check out their website here for information about this great organization www.thetrustees.org/  They make sure we have paid the price to access the land trust areas, warn us to stay off the roped areas reserved for plover mating, and send us on our way.  From there we let most of the air out of our tires to allow the truck some traction in the deep sand, and off we go, bouncing over the dunes in the back of the pickup.  

Fishing on East beach is a funny thing.  One can cast for hours and never get a bite, or throw in one deadly dick and haul in a fighting blue.  It just depends on if the fish are running.  When they are around, they will hit on almost anything.  Sluggos, plugs, any type of shiny lure. Once one is caught, fisherman up and down the beach run to their rods and the catch is on.  Bluefish are a blast to catch because they are fighters and will regularly take line before you get them to shore.  They like to jump and shake, trying to lose the hook.  Most fishermen use some sort of treble hook to increase their chances of landing a fish. Once on shore, one must use caution unhooking them, as they have very sharp teeth.  Years ago we were taking a picture of my sons after catching some blue fish and, with one of them holding a fish, they both turned toward each other at the same time.  The fish’s teeth raked the eyelid of one boy and cut him open.  He bears the scars to this day.  

I like to catch bluefish as long as we keep are keeping them.  When we decide we have enough for a good feed or two, I’m ready to be done. For a few years I would continue to catch and release them, but they fight so hard and sometimes wear themselves out, and I found I lost the taste for it.  I tried using a single hook, to give them more of a chance, but after awhile I simply decided that If I wasn’t going to eat them, I might as well leave them alone.

Image

Bluefish get a bad rap as an eating fish, but I’m hear to tell you that, if treated properly, they are one of the best types of fish for eating.  If you have ever bought bluefish in a store, you haven’t really tried bluefish.  They must be eaten fresh, within a day of catching them.  After that they turn from a dusky pink to a sickly blue color and taste oily and, well, fishy.  Furthermore, once caught, they must be bled out and kept on ice.  To bleed them, use a sharp knife right in the middle of the chest up to the throat.  It is a fast way to ease them on their way and it makes the flesh taste better.  Ice them immediately.  If they can be filleted right on the beach, all the better.  The best way to cook the freshest bluefish is right on the grill.  Salt, pepper, skin side down until the flesh is white and flaky.  After that, anyway is a good way.  I have baked it, braised it, fried it and sauteed it with any assortment of herbs and spices.  For a sublime bluefish recipe, check out this link to braised bluefish with saffron risotto.  http://braveapron.com/tag/saffron/.   Leftover bluefish with scrambled eggs is a real morning treat.  Anyway you prepare it, bluefish is a delicacy and one not to be missed in these summer months.  We ate grilled bluefish with summer salad from the garden and roasted sweet potatoes, and finished with a delicate strawberry mousse.  Yummy!

Image

Another Trout Recipe

ImageThis recipe is for lake trout, usually bigger than stream trout, at least in the North East, and caught deep in the cold bottom of lakes.  Because they are larger they are easier to fillet then the smaller stream trout.  This recipe calls for two fillets about a pound each.  It is also excellent for salmon. I adapted this recipe from one I saw in a magazine.  Served over greens and with fresh berries from the garden, this makes an excellent summer meal.  I have added a dressing recipe for those who like to make their own.  It has a bit of a kick but goes great with the greens and fish.  

Cold Poached Trout on Greens With Peas and Berries

3 cups broth

2 cloves garlic, sliced 

10 peppercorns

1/2 tsp. red pepper flakes (more if you like it spicy)

1/2 onion, sliced

1-2 lbs trout fillets

Put all ingredients except the fish into a large saucepan and bring to a boil.  Turn the heat down and allow to simmer for 5 minutes or so.  Add the fish and cover, simmering about 5-10 minutes, depending on the thickness of the fillets.  When the fish is cooked through it should separate easily with a fork.  Transfer to a plate and let cool completely.  Strain off the broth, freeze it to save for later.  The spice makes it great for adding to vegetable soups and the fish broth gives it extra nutrition.  When the fish is cool, flake it lightly with a fork and serve over salad greens such as arugula or baby kale.  Add fresh strawberries and snap peas.  Top with pine nuts or sunflower seeds.  Any fruit, such as grapes or mangos, can be substituted for the strawberries, but they are in season right now in Connecticut.  

Image

Sorry there is no picture of the finished salad, but we gobbled it up before I remembered to take one! 

Spicy Sesame Dijon Dressing

1/4 cup sesame dressing

1/4 cup red wine vinegar

2 tsps brown dijon mustard

salt to taste

1 tsp hot sauce (more if you like it spicy)

Food and Chemotherapy.

Here is some information specifically for people suffering from cancer and the illnesses associated with radiation and chemotherapy.  I’m posting this article for a friend because this relates directly to my beliefs that we can prevent, and sometimes cure, illness and imbalance with healthy eating and proper nutrition.  We all know someone who has suffered from cancer, and I hope to post more from David in the future regarding which foods are most helpful in the prevention and treatment of this widespread illness.  I added my favorite juice recipe at the end.

Top Tips for Managing Chemotherapy and Radiation Side Effects

Though not a proven cure, nutrition plays a key role in a patient’s fight against cancer. A proper diet is especially beneficial in controlling possible side effects from chemotherapy or radiation. While cancer treatment can have harsh effects on the body, a nutritious diet can give the body what it needs to endure them.

Cancer patients, especially those with pancreatic, stomach, or lung cancer, can develop cachexia. According to the Mesothelioma Cancer Alliance, cachexia involves unintentional weight loss and muscle atrophy due to the body’s misuse of nutrients. The body’s natural process of building proteins is disrupted, which then causes a patient’s body to metabolize nutrients improperly. Though replenishing lost calories would seem to be the remedy, it has actually proven futile. A healthy diet, however, is crucial. If a patient has been eating very little, they should gently increase their food consumption. Also, some studies have shown that fish oil supplements are helpful when treating this particular side effect.

Ulcers and general mouth soreness are additional adverse reactions to radiation. With radiation attacking rapidly developing cells, healthy cells are destroyed along with the malignant cells. To treat mouth ulcers, patients should avoid spicy and acidic food. Such food will only cause further irritation. As suggested by the Mayo Clinic, one should opt for soft foods, such as steamed vegetables, as opposed to crunchy items that can aggravate one’s mouth. When drinking, patients should use a straw to keep the liquid away from any sores.

Chemotherapy lowers the body’s white blood cell count, which has a detrimental impact on the immune system. With this being the case, chemotherapy can increase a patient’s risk of infection. To reduce the risk of contracting an illness, practice proper food preparation. Adhere to expiration dates, and always separate raw and cooked food. Macmillan Cancer Support suggests that patients utilize their diet to help them fight infections. Consuming the recommended amounts of fruits and vegetables will help fortify your body with adequate vitamins and minerals. Before eating produce, wash the food thoroughly and peel it. For the most benefit, patients should prepare their own fruit and vegetable juices. Not only will this preserve the vitamins and minerals, but the product will be free from any added sugar.

While cancer treatment can cause cachexia, mouth sores, and decreased immunity, patients can use a healthy diet to their benefit. From fruits and vegetables to supplements and textures, nutritious food plays an important role in the fight against cancer.

Super-charged Yummy Juice

1/2 large beet

3 large carrots

1 grapefruit

a hand full of kale

1 inch of fresh ginger, peeled.

Press all ingredients through a juicer and enjoy!


Grilled Fresh trout with onions

Image

As anyone who lives in the North East knows, a few days ago the weather was unbearably hot and humid.  Very unusual for May and, to tell you the truth, it was making me a bit crabby.  With the hot breath of the sun bearing down on us for so long the boys and I decided to see if our favorite neighbor had opened their pool, but no luck.  It was still sealed up tight, with a thick layer of leaves to top it off.  Discouraged, we headed back home, grumbling and moaning, until we remembered our favorite weekday watering hole.  That is not to say our favorite drinking location, but our best dipping pool and trout sanctuary.  We turned the truck around and headed the few miles down the road to Kent Falls.

Kent Falls is a State Park in northern Kent that in the summer is a very popular picnic spot.  In fact it is the most visited State Park in Connecticut, due in part to the fact that it is so very accessible.   It is right off the state road and has lots of parking, a stream and a wide open field for picnicking.  It’s greatest attraction, however, is an incredibly beautiful series of waterfalls that drop steeply into delectably clear pools perfect for bathing.  The water is cold, sparkling and divine.  There are stairs beside the falls that lead up to the top, with a wire fence that declares in multiple places along the route in very clear language “NO SWIMMING”.  Swimming is permitted, although not legally sanctioned, in the two pools nearest the bottom, and on the average summer weekend day the pool is filled to overflowing with frolicking children and their parents splashing around in the cold water.

Image

This is usually not a problem for us, as we almost never go on the weekends.  From Memorial Day to Labor Day the park charges a fee to enter on Saturday and Sunday, so we typically stick to afternoons during the week.   On some occasions, though, we have arrived at the park to find the pool occupied with swimmers, and while my children aren’t averse to swimming, they are first and foremost fishermen.  Kent Falls is not a swimming hole but a designated trout park dedicated to fishermen like my boys, so say the park rules.  This become a problem for us when we have come to fish and others want to swim.  We are usually in the minority.  For many years I have counseled the boys about the necessity to work together with others and to compromise, but how do you explain to a child that they can’t do what they want because others are breaking the rules.  How do you explain that if LOTS of people are breaking the rules, than they have the priority?  It doesn’t seem right.  But then again, if you had driven 2 hours to see the falls, and your children were frolicking in the water with a dozen others, and two boys came with rods and told everyone to clear out because they wanted to fish and the law was on their side, how would you feel?  It is a delicate situation and one we try to avoid.

Regardless of that ethical dilemma, when we arrived at the Falls that day, no one was in the pool, and I got to swim in the wonderfully cold water and lower my  temperature and irritability level at the same time while the boys caught minnows in the stream to use as bait.  While I knit in the shade, they proceeded to catch several beautiful trout in a matter of minutes.  We kept three, all about 13″, thanking them for their lives and cleaning them in the bushes.  Below you will find how I prepared them.

Fresh Trout with Onions. 

3 or more fresh whole trout

salt and pepper

olive oil

1 large onion

1 tbs capers

1/4 cup white wine

1 large lemon

After cleaning the trout, salt the inside flesh to taste.  Wrap each trout in tinfoil and set the grill to medium low.  Place each trout on the grill and cook for about 6 minutes a side.

Meanwhile slice onion in half and into thin strips.  Saute the onions in olive oil until sort and beginning to brown.  Squeeze the lemon onto the onions, add the white wine and the capers and saute until the liquid has evaporated. Salt and pepper to taste.

Remove the trout from the grill and open the tinfoil packets.  With a fork gently lift off the skin of the trout and remove the flesh from the bones.  The flesh should be flaky. Place on a platter and top with the onions.  Serve and enjoy!

Image

Boozing in the Garden

Image

As much as I like my cocktail hour, I’m not talking about me here!  I’m talking about slugs, and how they love beer.  I went through two bottles last night alone filling up my little plastic dishes in order to attract those nasty little slimers that sneak around and gobble up anything they can climb on.  They had gotten into my cabbage, my strawberries, my beets and peas, my radishes.  All those telltale blemishes on my delicate veggies!  If you don’t put a stop to them, they multiply, but you never notice cause they are hard to see and mostly come out at night or in the rain. They don’t like direct sunlight.  But suddenly they are everywhere and most of the vegetables have either holes in their leaves or pieces gnawed out of the fruits.  Fortunately, there is a simple way to knock them out, literally.  Just place some shallow dishes of beer around the garden and the slugs flock to them, suck up that frothy concoction and pass out, drowning themselves.  You don’t even need good beer; save the microbrew for yourself and pick up a six pack of PBR for the slugs.  They aren’t choosy when it comes to drinking.

Image

The Doctor is in!

This morning I went out to look at my garden, as is my custom most mornings after the bus has come and gone and I have a chance to finish my coffee.  Everything looked in order from afar, but as I honed in for a closer inspection, trying to sneak up on those pesky tomato suckers, I noticed my plants looked in somewhat ill health.  Not exactly sick, but queasy.  Now, I knew I took a risk by planting them in the dirt before Mothers Day, but the forecast looked good for an early planting, and I had been fastidious about hardening them off.  We did get a cold snap last week, but not a frost in our area, and they had looked fine the morning after.  The leaves were sort of yellowish, curling at the edges, with some brown spots on them.   What could it be?  Blight?  Bugs? Too much water? Not enough?  As I fondled each plant in turn, murmuring over them and worrying like the mother of a sick child (I have, after all, nurtured these babies since January!), It occurred to me that I might need some help.

I knew just where to get it, too.  I hurriedly plucked the worst looking of the leaves off pepper and tomato, hopped in my truck and beat feet (My dad’s expression) to the local greenhouse to talk with my good friend who runs the garden center.  She has been a resource for me over years, and one I have come to value and respect.  I knew together we could figure out what ailed my lovelies.  After a trot around the greenhouse with my fistfull of wilted leaves looking for my friend, who turned out not to be working that day, I decided to take a chance and ask someone else.  I found another woman and after a quick inspection she informed me that my plants weren’t that sick at all, but had a case of chill stemming from wet feet.  We had a chat, and she suggested in the nicest of ways that perhaps I had mulched too deeply, or perhaps too close to the stems.  The previous cold, combined with a wet wind and lots of rain has weakened the plants because the roots couldn’t breath.  She prescribed a treatment of kelp and seaweed mulch lightly applied to the area around the roots, and the mulch pulled back 6 inches.  It turns out everyone at that greenhouse knows stuff!  I rushed home to apply her advice.  Below is the result.  I’ll let you know in a week if my darling peppers and lovely tomatoes have recovered their former vigor.  ImageImage

Ah Ah Ahhh Asparagus! Bless you.

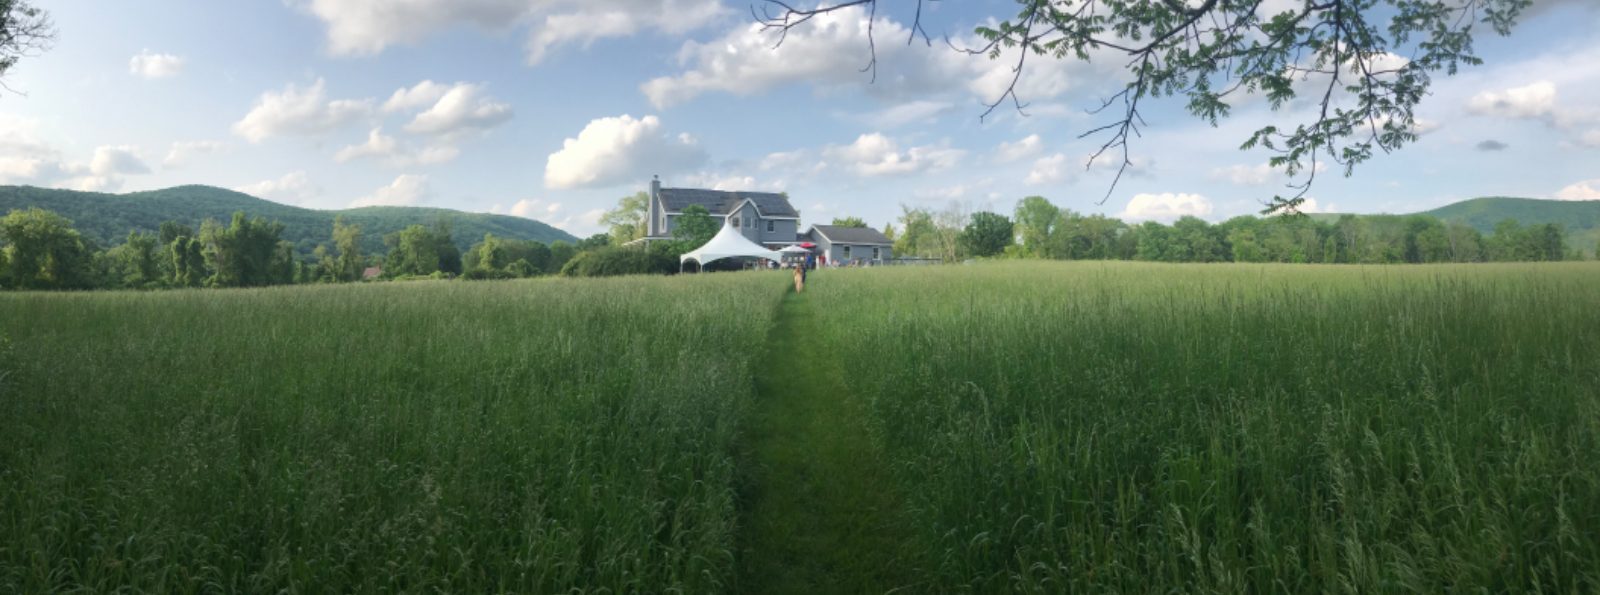
Springtime for some is a horrible season of allergies.  Stuffy, runny noses, red eyes and sneezing abound as the deciduous and fruit trees blossom and spread their pollen throughout the warming springtime air.  For some, it is a time for Claritin, Allerest, Zyrtec.  What does this have to do with asparagus, you ask?  Not much, except that they coincide, and they were both on my mind after our short trip out to Martha’s Vineyard last weekend.

I have never had seasonal allergies, but my son does.   He gets great purple bags under his eyes and has a terrible grouchy attitude.  So terrible, in fact, that when he was 11 I brought him to the doctor, explaining that he was just a miserable person and what could I do about it?  She took one look at his purple shaded eyes and diagnosed him with seasonal allergies, prescribing a daily dose of Claritin.  It worked marvelously.  His attitude improved, the purple diminished and we went our merry way, but it caused me to wonder about allergies; why some people get them, and what I could do about it for my son.  Over the years I have found some homeopathic remedies that work with varying success.  

Quercetin is a natural substance found in the skin of onions and apples.  Sadly, apples and onions are not seasonal to springtime, but fortunately quercetin is available over the counter as a supplement.   

Stinging nettle, found in many allergy medications, is a useful herb in curbing the annoying symptoms, and can be taken in a tea form.  Stinging nettle is available now, and grows best in weedy lots and near manure piles.  Do not forget your gloves and long sleeves, as well as shoes and socks.  The effects of touching the plant itself are uncomfortable in the extreme.  Chop it, steep it, season it with honey, and enjoy!  If gathering it is too much for you, most health food stores will carry it, but it is best fresh.  

Honey is another supposed remedy for allergies.  It is recommended to take a teaspoon once a day, but the honey must be unblended and from your area in order for it to have a benefit.  Some swear by this, but so far the evidence is inconclusive.  It can’t hurt, anyway.

Acupuncture may help alleviate allergy symptoms, especially if you start treatment about a month before peak season.  Apparently opening certain meridians can help to suppress an overactive immune system.  

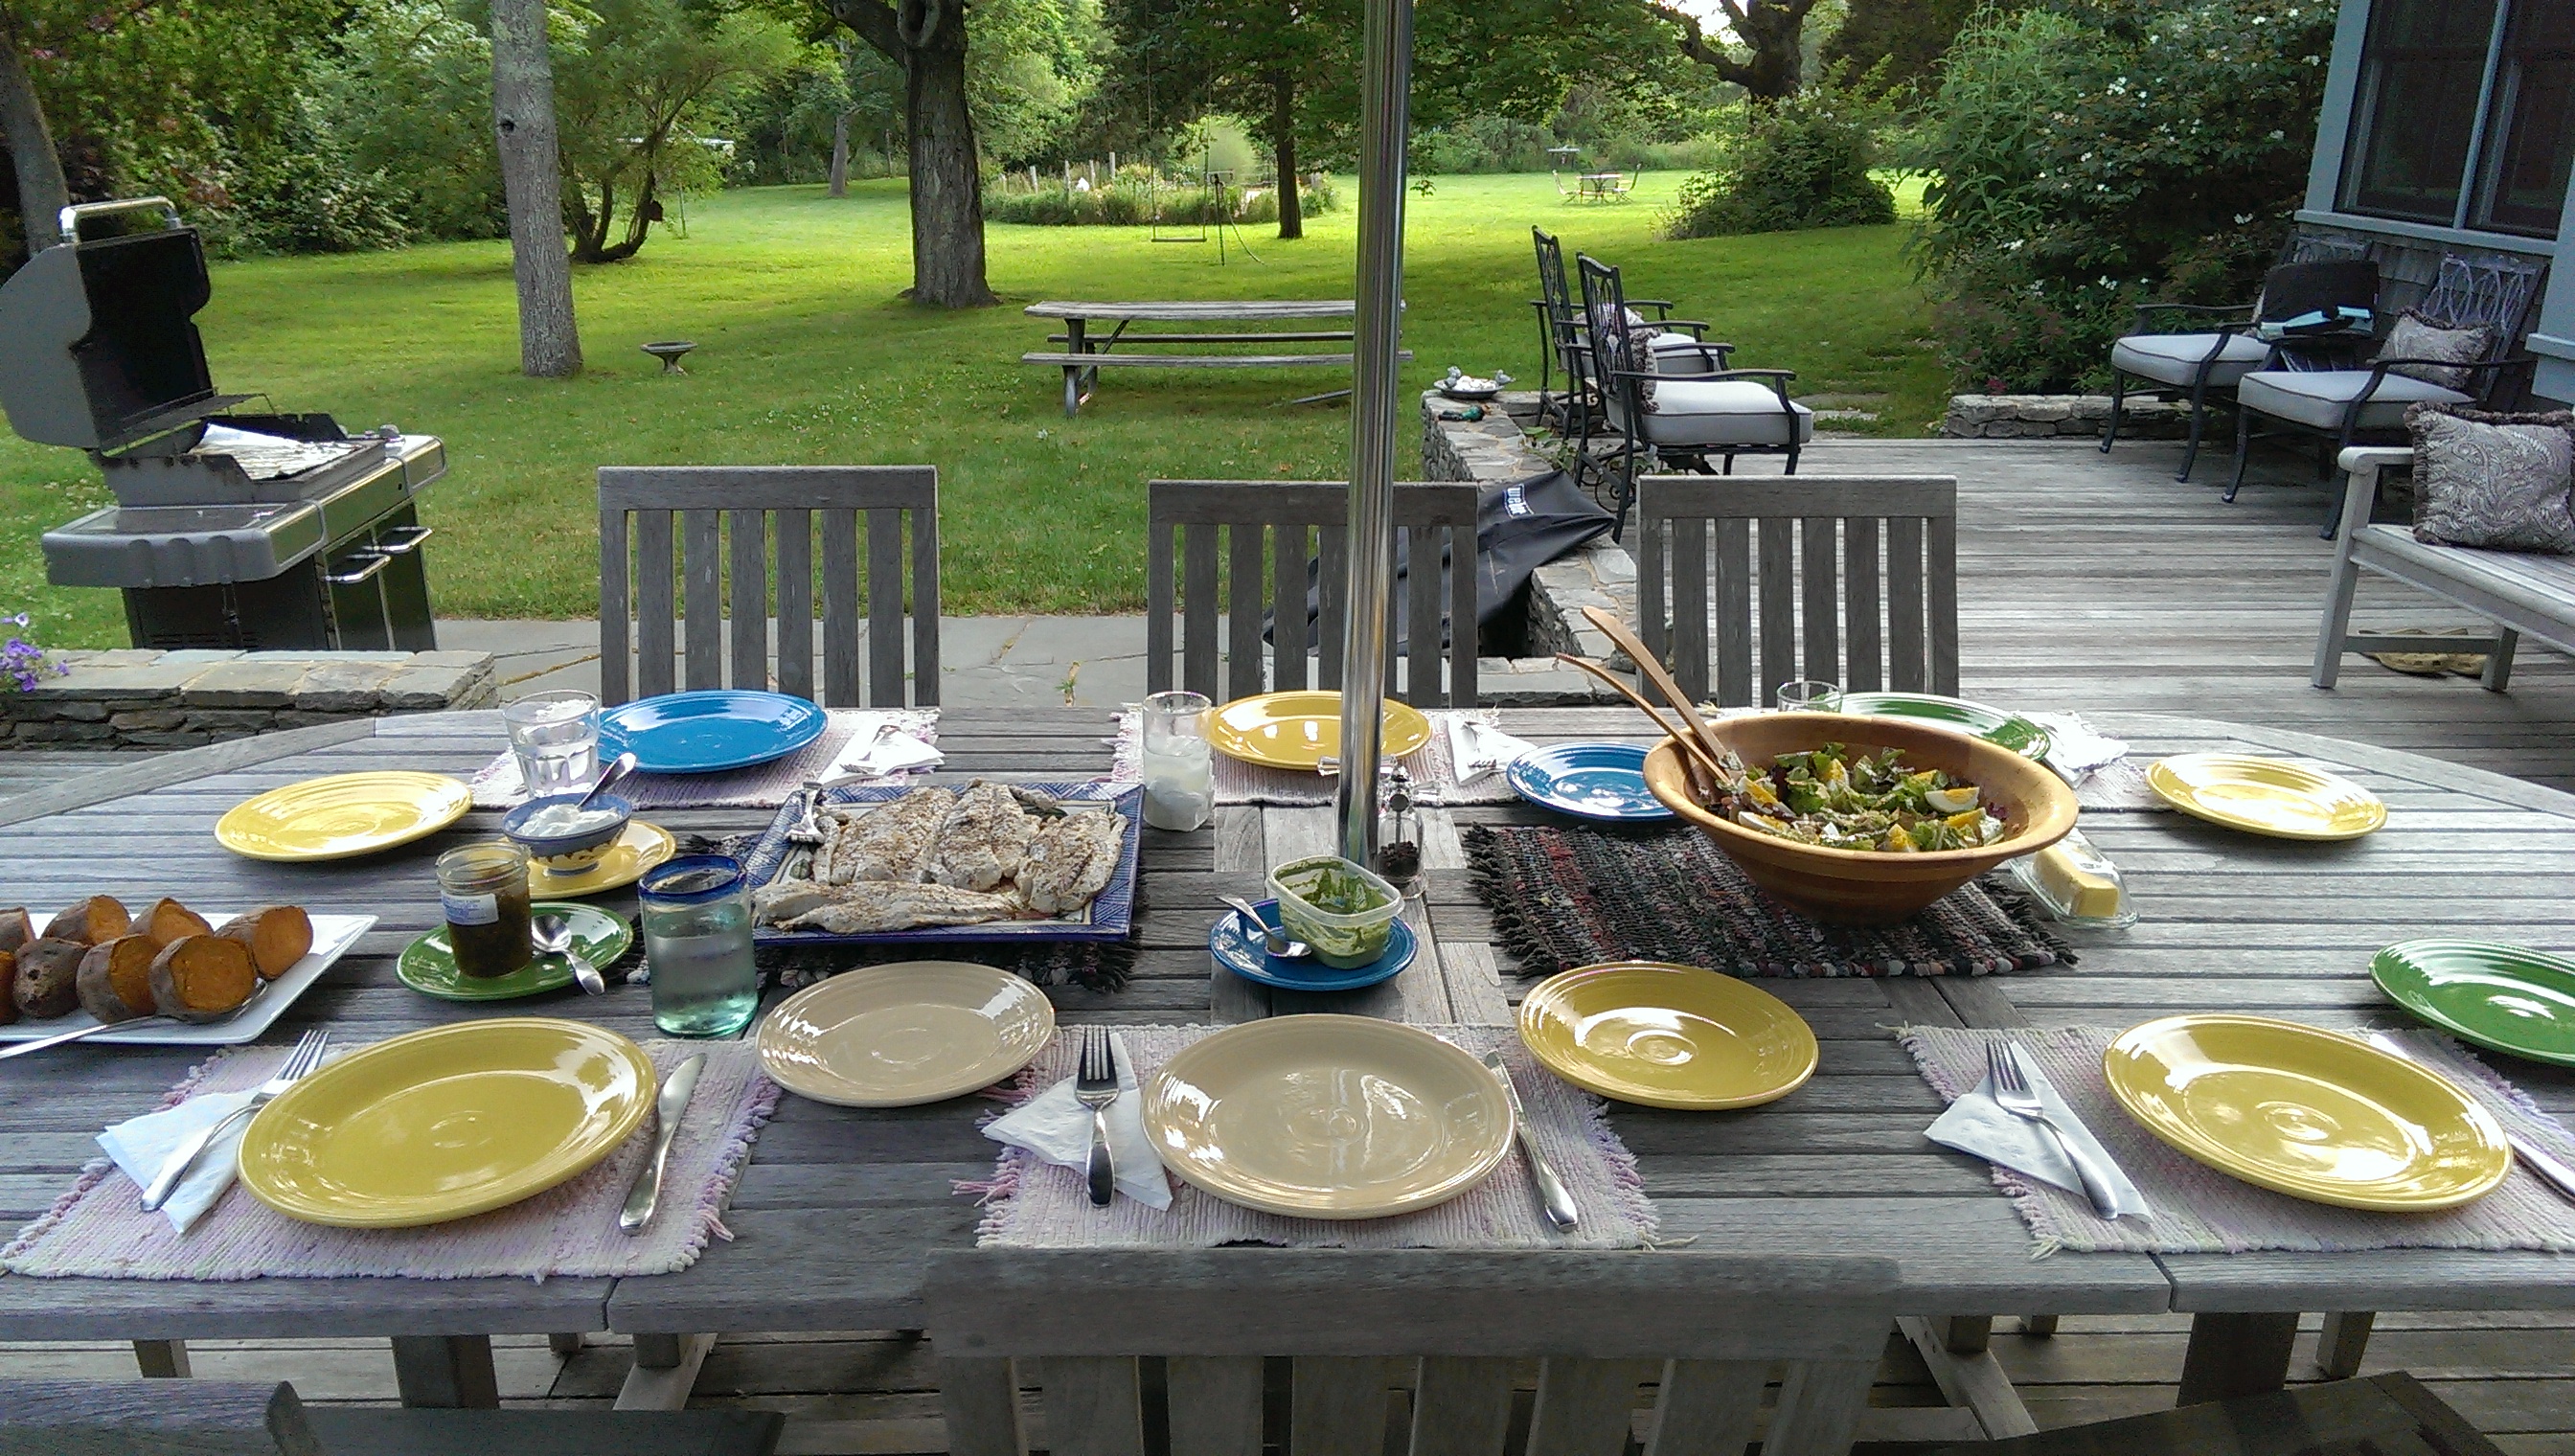
Last weekend, as I was indulging in the abundant asparagus that grows in the garden there, that we have patiently waited for years to mature and produce, my son was miserable.  He wanted only to lay inside and play on his Kindle.  He was tired, and grumpy, by turns sarcastic, caustic and irritable.  We couldn’t even get him to enjoy going fishing.  And only later, as I consider writing a post about the lovely asparagus, does the reason occur to me.  Duh! What is it about mothers who are always the last to figure it out?  I really should have known.

So.  To the asparagus!  

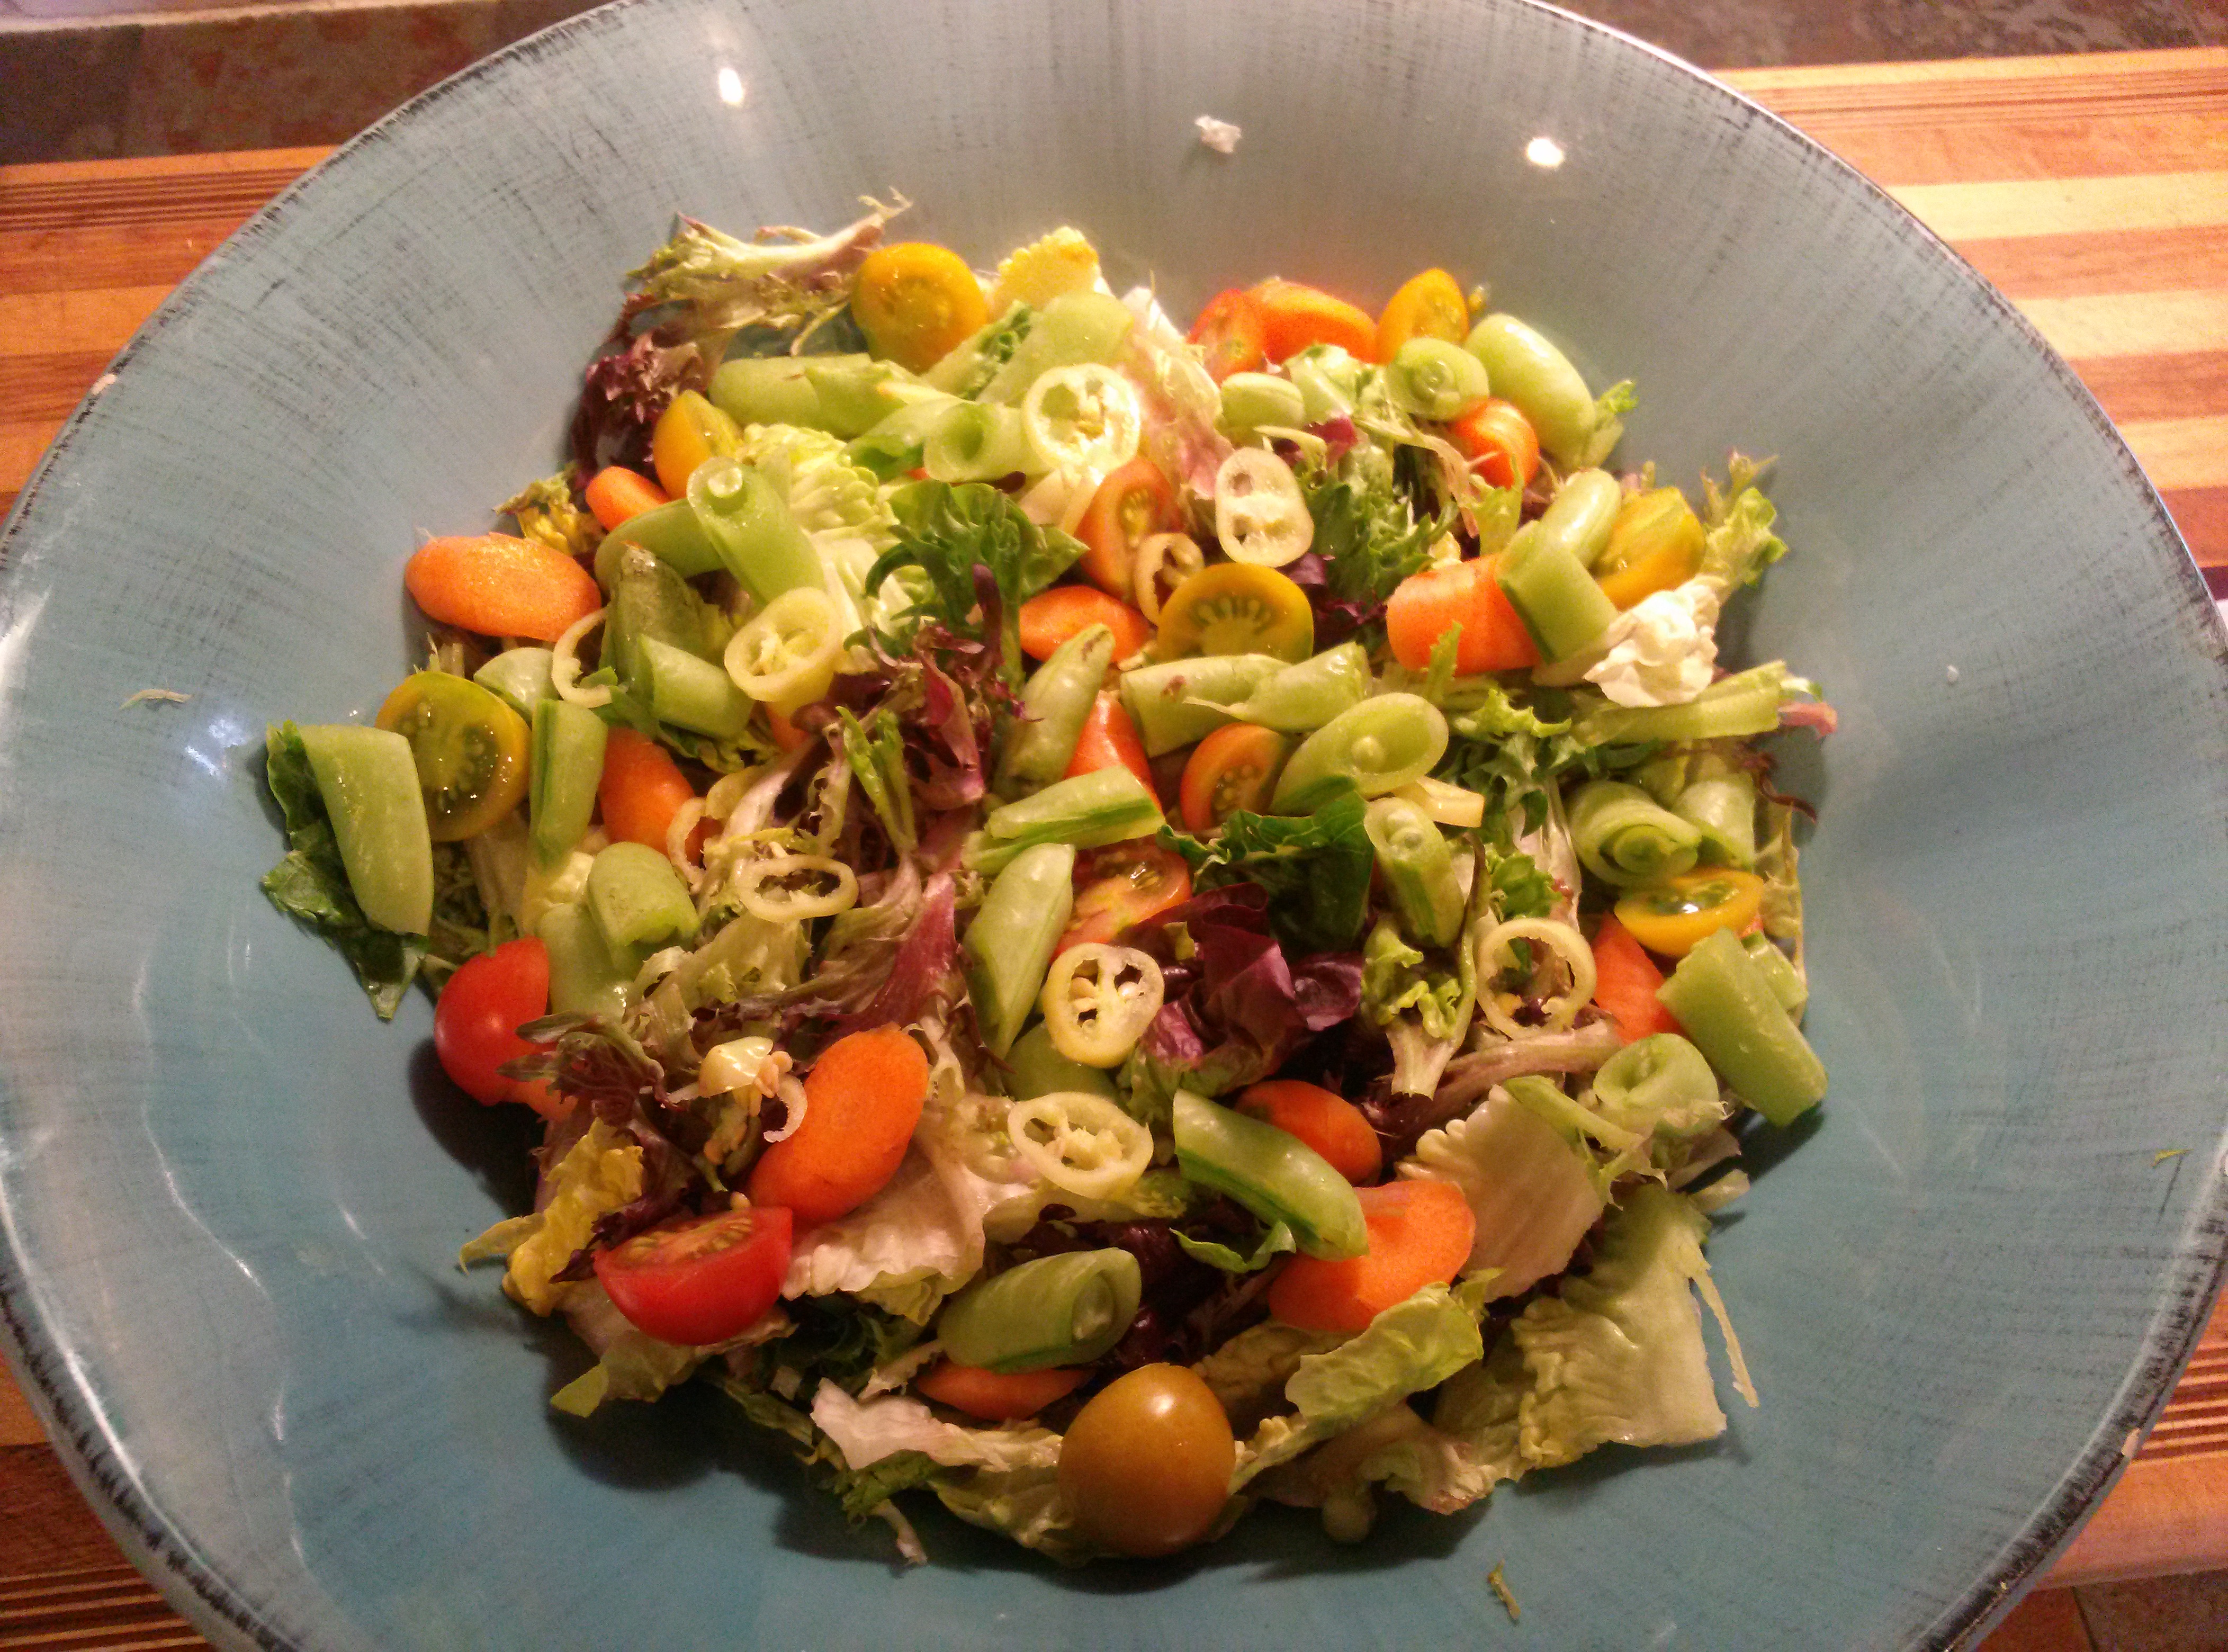
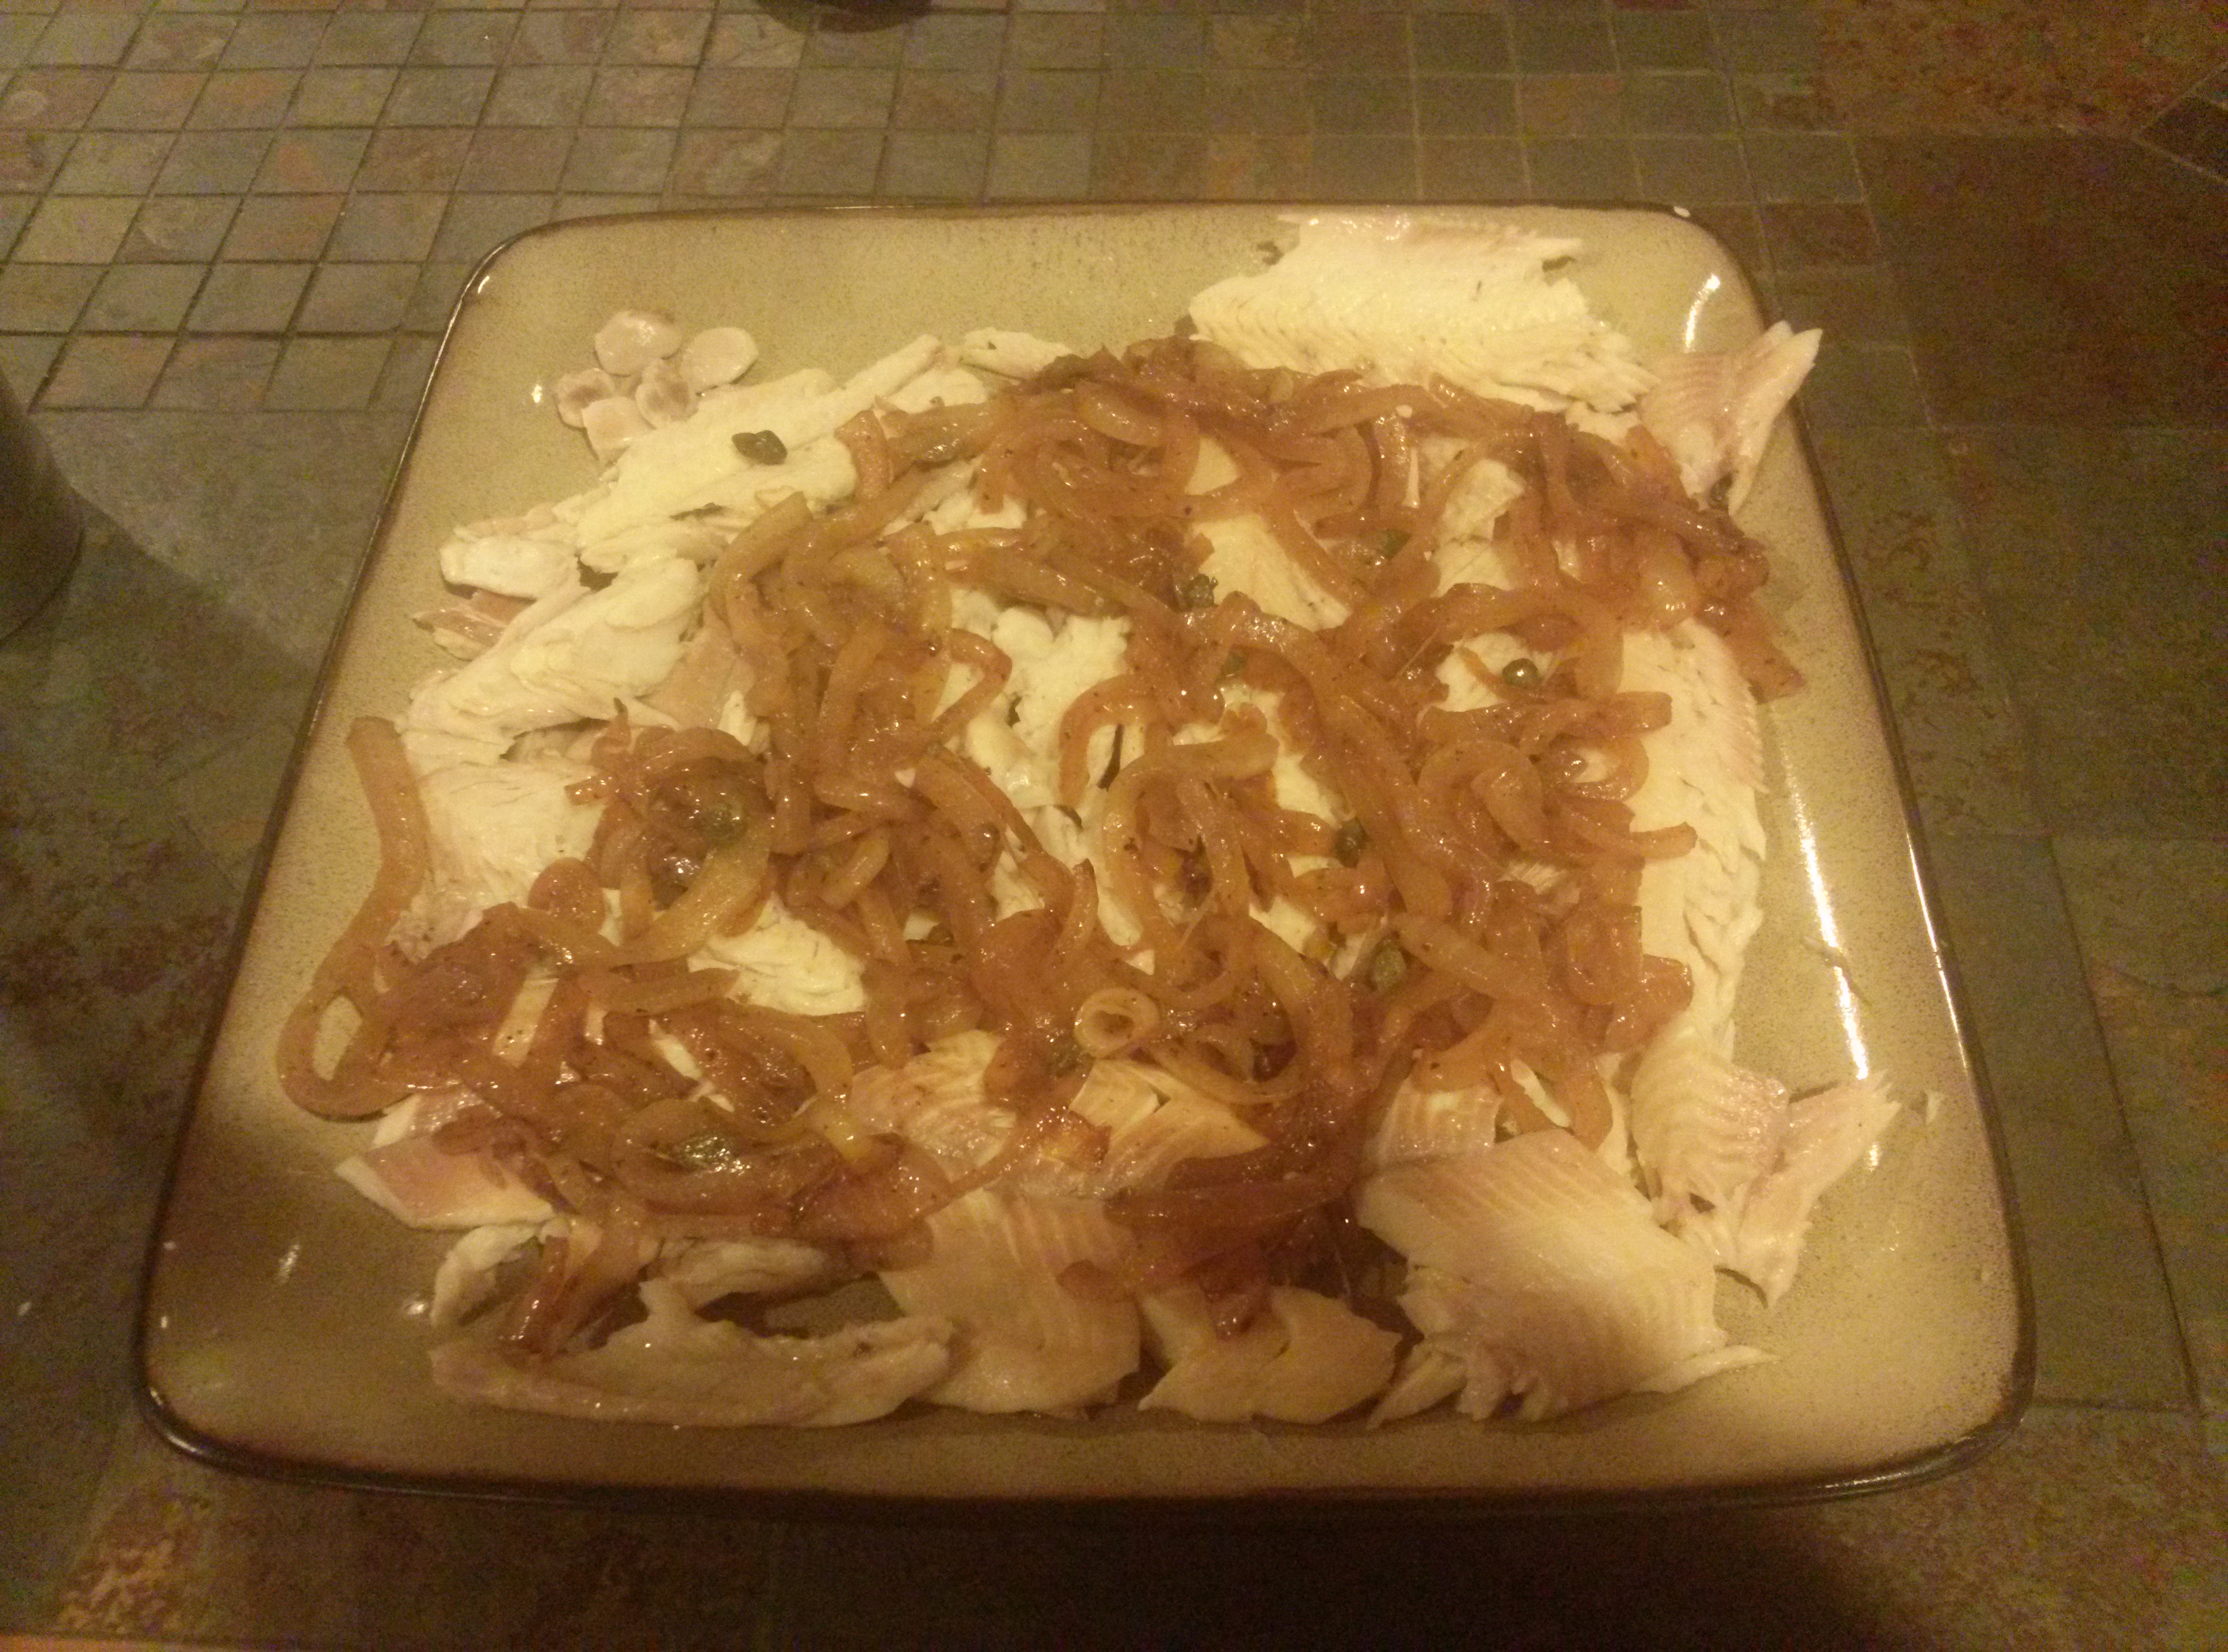
Any aficionado of that strange plant will tell you with fervent belief that fresh cannot compare to store bought asparagus, and we are right.  The ONLY time to eat it is when those tender shoots get to be just the right height to cut, and there are just enough to take without killing off the plant.  Harvesting asparagus is an exercise in patience.  A strong asparagus plant will send out shoots when the weather warms, but you must not cut those first delectable morsels!  They taunt you as they harden into stalks, but in order for the plant to thrive it must have foliage to photosynthesize. Those first stalks are necessary to the plant’s health, and only after they begin to mature and more shoots emerge may one gently cut and enjoy some of the delicate stalks.   The flavor is sublime.  Below are some of the ways we indulged our culinary fantasies and savored this most precious springtime treat.

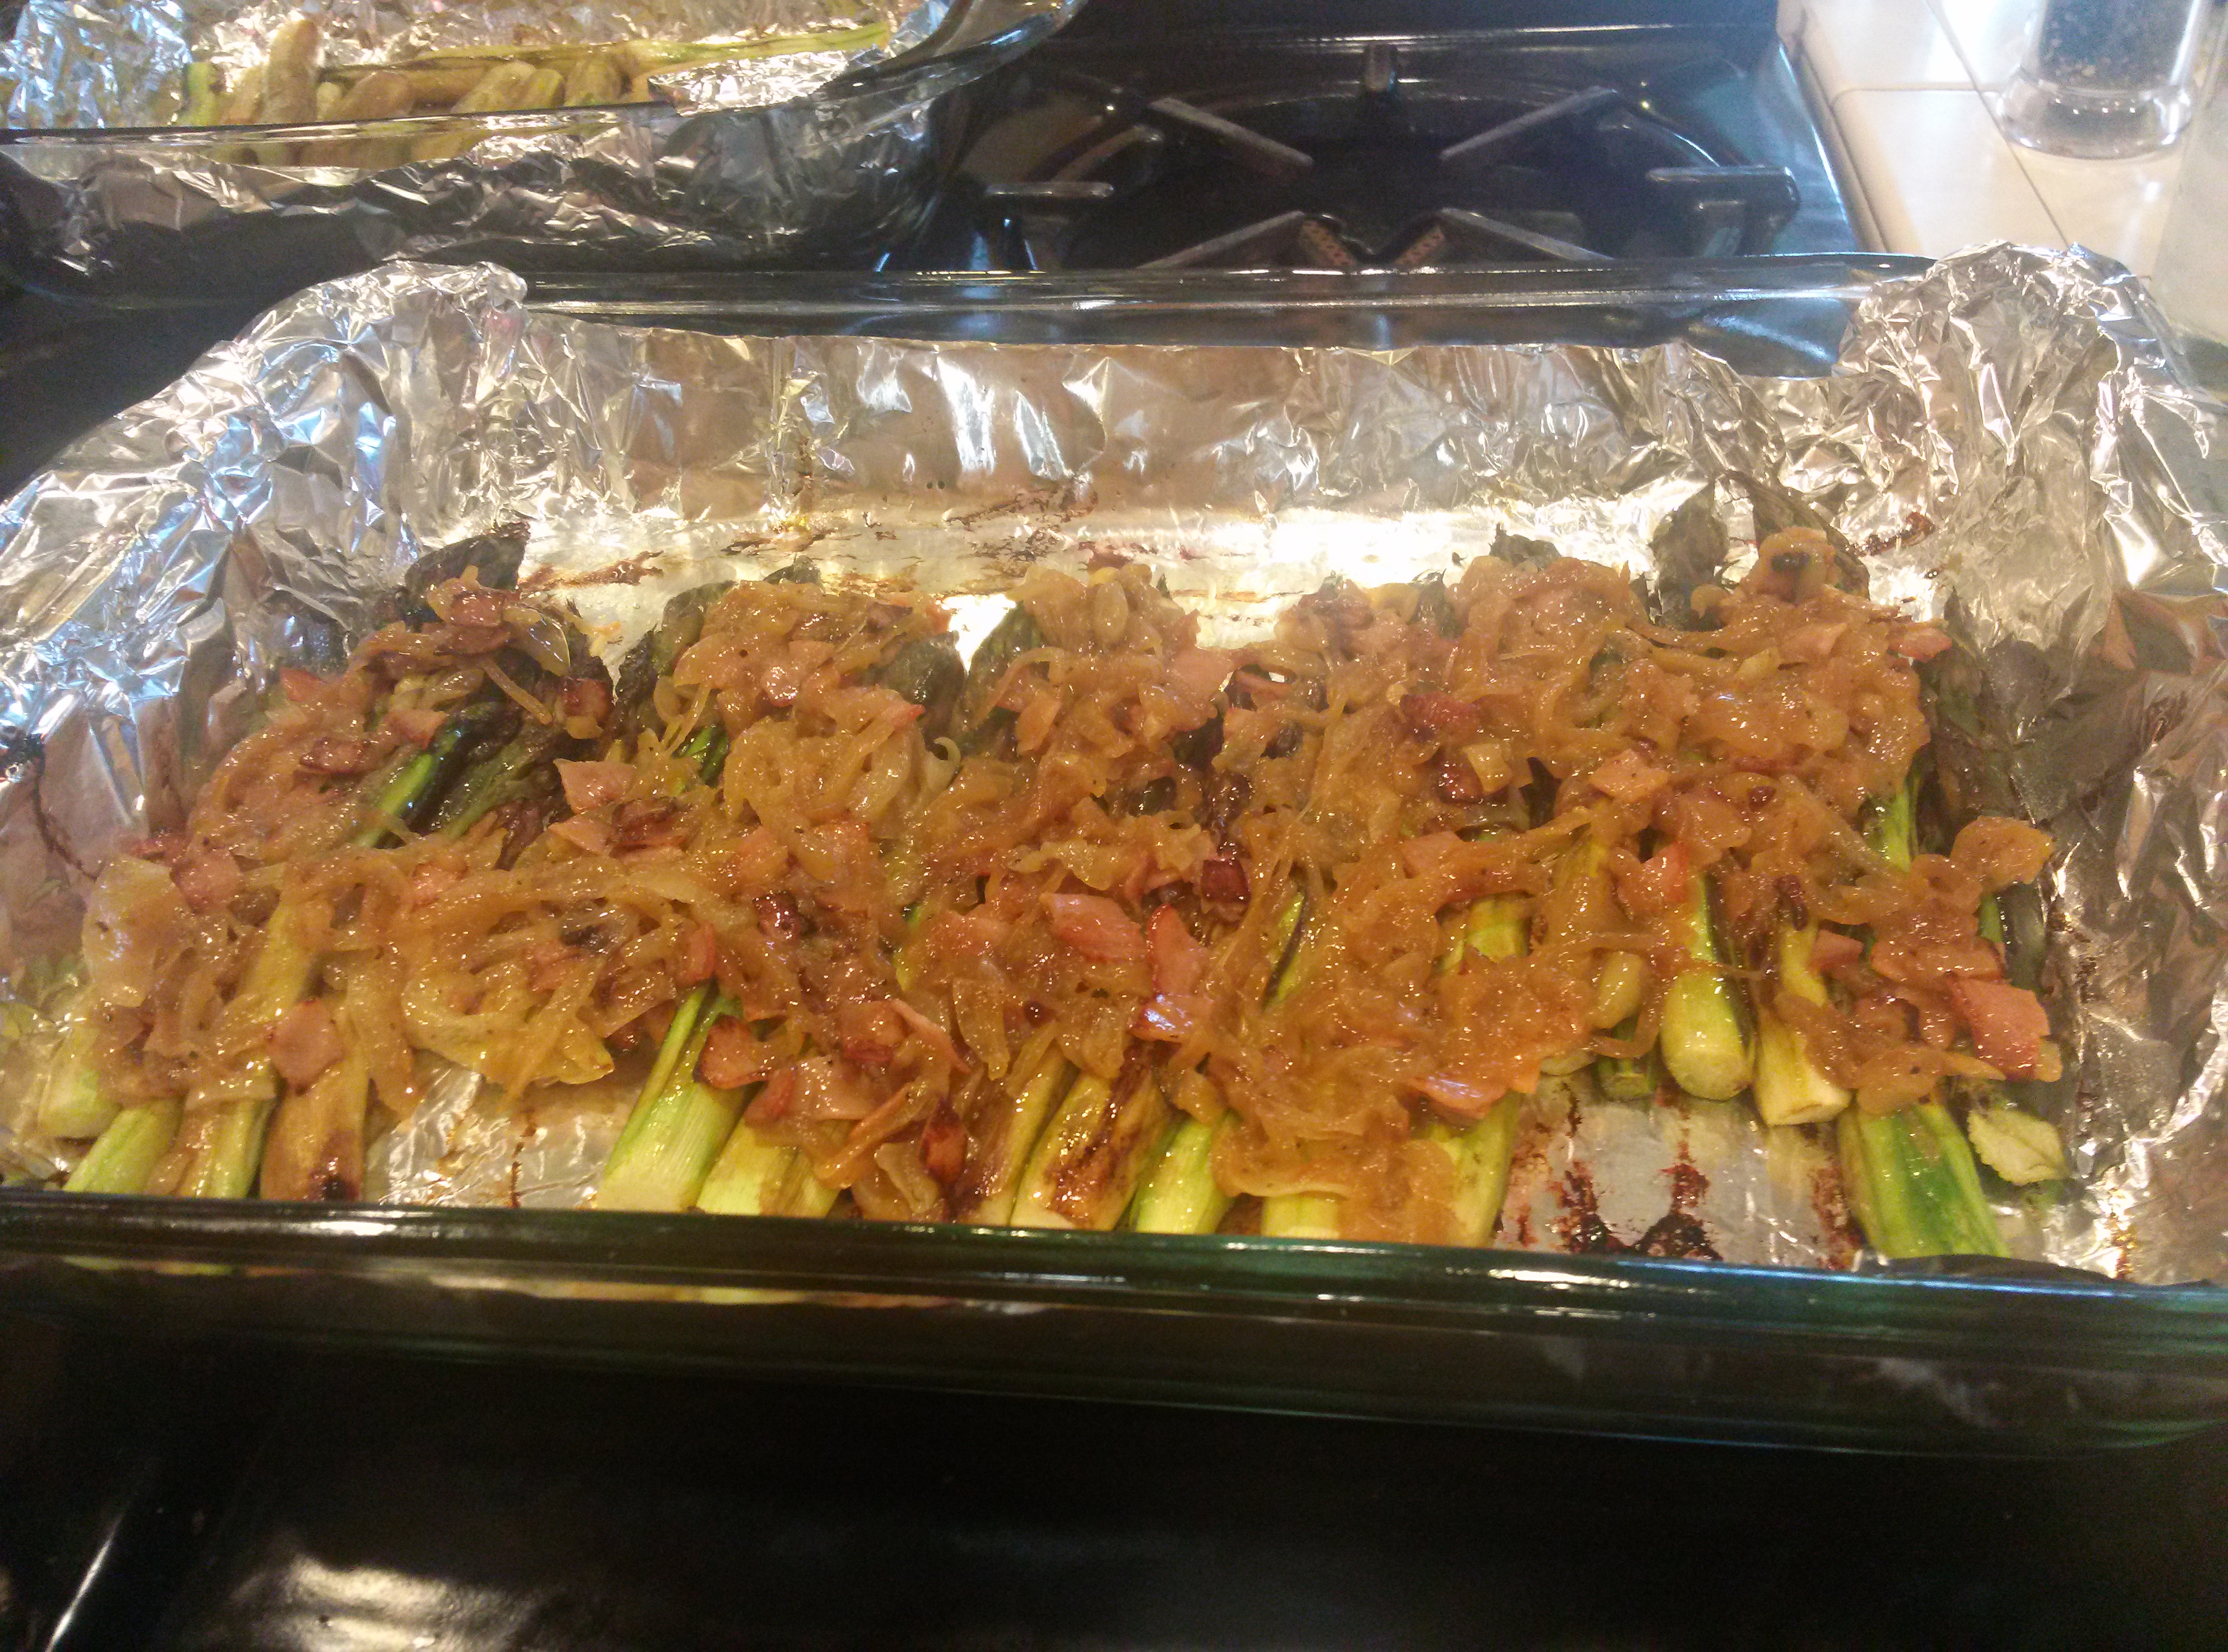
Roasted Balsamic Asparagus with pancetta and caramelized onion

Oven temp 400.

2 lbs of fresh cut asparagus, peeled if the outer skin is tough.

4 tbs olive oil, divided

3 tbs good balsamic vinegar

2 large onions 

1/4 lb. pancetta. Ham, prosciutto, or bacon would work as well.

Chop onions in half and slice thinly   Chop pancetta into small squares.  In a skillet heat 2 tbs. oil on med heat.  Stir in onions and cook, allowing to brown.  When onions are almost done, about 15 minutes, add pancetta and cook, stirring, for 5 more minutes.  Meanwhile, place asparagus in a single layer in a roasting pan lined with tinfoil and coat with the remaining 2 tbs oil.  Sprinkle with the balsamic and roast in 400 F oven for about 20-30 minutes, depending on the thickness of the asparagus.  Remove, top with hot onion and pancetta mixture and serve.  

Image


Asparagus Yorkshire Pudding

Oven temp 400 F

3 eggs

1 1/2 cup organic flour

1 1/2 cup organic or raw milk

Salt to taste.

1/3 cup roast drippings, bacon fat or lard.

1 lb asparagus

Peel Asparagus if necessary.  Place a roasting pan in hot oven for 5 minutes.  Meanwhile, mix together first 4 ingredients into a batter.  When the pan is hot, add the drippings or bacon fat and coat the pan.  Place the asparagus in a single layer and cover with the batter.  Return to the oven and bake for about 20 minutes, then lower temperature to 350 degrees and bake an additional 10 – 15 minutes or until pudding is puffy, lightly brown and beginning to crisp.  Refrain from opening the oven until you remove the pudding.  If you must check the progress, use the light and window.   Allow to cool for a few minutes and cut into squares.  Serve immediately.


Ah, Springtime. For a minute.

When I moved to Connecticut almost 12 years ago, I came from Crested Butte, Colorado, a western slope former mining town turned fancy with a ski area.  It was at 8800 feet in elevation.  I had a garden, but in it I grew mostly grass.  And I didn’t even mind so much, because it was green.  I did manage some carrots, peas

and some herbs most years, but that was the sum total that my high altitude green thumb could manage.  I tried for 10 years to get a serviceable tomato, but nary a cherry could I produce in that elevated locale.

Then I moved to Connecticut, and the sheer amount of vegetation astonished me.  In fact, by mid summer I was entirely overwhelmed.  I had to cut the grass ALL the time.  And weeding?  Forget it!   I couldn’t stop things from growing, and that first year my cherry tomato vines grew to be over 11 feet long.  I chuckle to remember how delighted I was with my first garden and the 12 or so varieties of vegetable I planted.  Now I have over 12 varieties of tomatoes alone.

Springtime in Connecticut is both a magical and alarming time for me.  The new life clawing up out of the ground and unfolding everywhere happens so fast and forceful that it is almost frightening.  Each year in the early spring I wait expectantly for the growth to start.  It begins with the greening of the grass, and gently blooms into a haze of green on the tips of the trees.  Then I feel as if I’m rushing to catch and appreciate every last brilliant daffodil before the outrageous yellow of the forsythia emerges, but it all too soon blends in with the pinks and whites of the dogwoods and magnolia which give way to the purples and violets of the heavenly scented lilacs.  Before I know it spring turns to summer and the business of hacking back the vegetation that grows uncontrollably everywhere, blocking my view of the oncoming cars at the end of the drive, threatening to overwhelm my perennials.  And then the nasty posion ivy, the multiflora, the nettles.

There is usually a period of ease between these times, a period of calm wherein there is just enough vegetation to feel the world is a gentle place but not enough to feel as if things are out of control.   For me, that time is now.  Onions are beginning to poke out of the moist rich soil, and the first blossoms begin to open on the tomatoes.  The last frost was last night, and tomorrow I relocate my delicate seedlings into their permanent homes.  The lawn looks green, healthy and not too long.  I have to remember to take a deep breath and savor every moment before the deluge of verdancy I know will be coming.   Everything  is a mixed blessing in this delicate  balance we call life.

Kitchen Essentials and Venison Sausage

Eating locally and seasonally in Connecticut is a hard task unless you plan ahead.  Making things and storing them for future times is essential to a happy cook and a well-stocked kitchen.  In order to put up produce and meat, sauces and fruits, I have some essentials in my kitchen that I could not live without.  Below you will find a list of must-haves for preparing for leaner times. 

Freezer

I can’t say enough about investing in a good chest freezer.  The simplest way to store meat, vegetables, and fruit is to freeze them as soon as possible after picking or harvesting.  It maintains the vitamins and nutrients far better than canning or other methods, and in most cases keeps the food safe for months or even years.  It is the easiest and fastest way to put up a harvest at its freshest, and to store produce for the winter months.  I have a deep chest freezer that I bought new from Sears for about 350.00, and I store thousands of dollars’ worth of fresh meat and vegetables in it every fall to last through the winter months.  If you don’t have one, don’t want to incur the cost of a new one, there are several online sites where you might shop for a used one for much less.  So much of the excess produce from my kitchen garden goes into the freezer right after picking, and it is such a delight to browse the shelves for a cooking idea knowing that my choices are ripe, delicious, healthful, and clean.    

                Canning pot or Pressure cooker.

A canning pot is a lovely thing to have, and very useful for storing jellies, sauces, broth, fish, and some veggies.  Not all veggies are suitable for canning fresh, so we can mainly prepared foods, like chili and tomato sauces, sweet butters and jellies and cooked vegetables like sauerkraut.  We use ours most often during the fall months when we make and can sweets and sauces to give as gifts during the holidays.  We also jar hot sauces and pickles of all sorts, chilies, beans, corn and tomatoes.  If you lack a proper canning pot, take some time to look for one at your local thrift or consignment store, where they can often be picked up for a few dollars.  Without one, you can still make many canning recipes in a regular sturdy pot.

                Juicer

I love my juicer.  It was given to me by a dear friend who lived off the grid.  He had a generator for electricity, but every time he tried to juice he would blow a fuse.  When he parted with the juicer, he made me promise to make him juice anytime he came to visit, and even though he still lives at about 10,000 feet, deep in the mountains of Colorado, with no phone,  I’m still waiting to make good on my promise.  The juicer is a Champion, and very old and outdated.  It is essentially a big motor connected to a shaft that drives a shredder and some plastic implements to strain the juice, but it will juice anything.  I could put a potato in and get potato juice.  I use it for fresh fruit and veggie juice during the summer months, (carrot beet apple is my favorite) and in the fall I juice leftover kale and spinach, freeze the juice and add it to soups and stews during the winter to add flavor and green nutrients. 

                Dehydrator

Anyone can use their oven for a dehydrator, but it’s just so quick and easy to use one made for the purpose that this is on my list as well.  With the dehydrator there is no need to turn the produce, as it gets evenly dry in a much shorter time than using the oven.   We use ours to dry fruit for snacks, beef jerky, dried fish to be used in soups, and most especially mushrooms.  Dried and then frozen, mushrooms can be stored for years in the freezer, but they never make it that long.  Wild mushrooms are a treasure and  we hoard them in season and use them sparingly for the rest of the year.  I’m learning more and more about the wild world of fungi and I’m excited for a season of mushrooming this summer and fall. 

                Grinder/sausage maker

When you hunt or gather the majority of your own protein, having a grinder is a blessing.  Meatloaf, hamburgers, hash, and meatballs all require the meat to be finely ground.  The added benefit is, with a small attachment, ground meat can be stuffed into casing to make delicious sausage!  I love venison sausage, and many of our friends and family have come to love it as well.  It’s one of the things we give as gifts during the holidays and it is always well received.  My husband makes a garlic cheddar sausage that is mouth-wateringly good.  The recipe follows.

                Cheddar Garlic Venison Sausage

4 Lbs. Venison, ground fine

1 ¼ Lb. Pork fat, ground fine

8-10 cloves garlic, chopped fine

½   Lb. Cheddar cheese

2+ Tbsp. Crushed red pepper, depending on your spice tolerance

½ cup white wine

2 Tsp. Sugar

1+ Tbsp. coarse ground Black pepper

1 Tbsp. salt

5 feet medium sausage casing (you can get this from a butcher).

 Mix the fat and meat together and then mix in the remaining ingredients.  Mix by hand until everything is uniform.  Stuff the casings with the mixture into 4 to 5 inch lengths.  Allow to settle in the fridge for a day or two, to allow the flavors to blend.   Cook in water or stock, on a grill or pan fry over medium low heat.  These can be used like any sausage, served alone or with pasta, in a salad, or on sandwiches.  They freeze remarkably well.   Try substituting any game meat.  We made them with caribou once and they were just as delicious.